1. 6 第一步:将应用封装进容器中
1.1. 第一步:将应用封装进容器中
在之前的容器镜像实战中,我们已经学习了如何将应用容器化,这里我们将下载使用两个官方的Nginx镜像来完成接下来的实验。
1.1.1. 部署Harbor镜像仓库
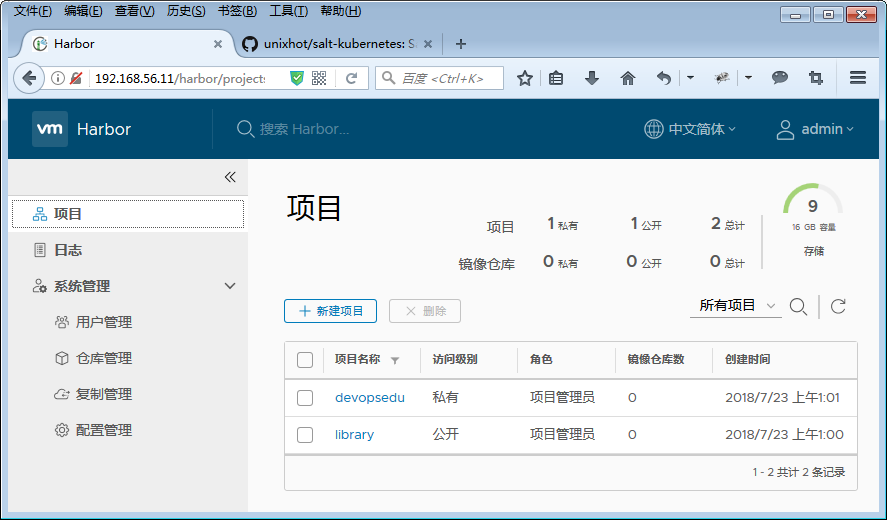
生产环境中可以使用Harbor来管理Docker镜像,请参考之前章节的内容完成Harbor镜像仓库的部署工作,并在Harbor中创建一个devopsedu的项目。

1.1.2. 制作实验用的Docker镜像
这里不再演示Docker镜像的构建,直接下载两个官方镜像作为案例。
[root@linux-node1 ~]# docker pull nginx:1.13.12
[root@linux-node1 ~]# docker pull nginx:1.14.0
1.1.3. 配置Docker仓库
[root\@linux-node1 ~]# vim /etc/docker/daemon.json
{
    "registry-mirrors": ["https://tdimi5q1.mirror.aliyuncs.com"],
    "insecure-registries" : ["http://192.168.56.11"]
}

[root@linux-node1 ~]# systemctl restart docker
1.1.4. 登录Harbor镜像仓库
[root@linux-node1 ~]# docker login 192.168.56.11
Username: admin
Password:
WARNING! Your password will be stored unencrypted in /root/.docker/config.json.
    Configure a credential helper to remove this warning. See
    https://docs.docker.com/engine/reference/commandline/login/\#credentials-store
    Login Succeeded
1.1.5. 提交镜像到Registry
[root@linux-node1 ~]# docker tag nginx:1.13.12
192.168.56.11/devopsedu/nginx:1.13.12

[root@linux-node1 ~]# docker tag nginx:1.14.0
192.168.56.11/devopsedu/nginx:1.14.0

[root@linux-node1 ~]# docker push 192.168.56.11/devopsedu/nginx:1.13.12
[root@linux-node1 ~]# docker push 192.168.56.11/devopsedu/nginx:1.14.0
在上面的步骤中,模拟了生产环境如何构建和提交镜像,如果对于构建和提交镜像有疑问可以复习第3章的内容。